Home › Epic › Day One › First-day checklist
First-day checklist
What to do for every patient when Epic comes up early Saturday morning, October 24.
Day one has passed and the steps below are no longer shown. For help now, see Day One: who is helping on the floors, F1 tip sheets, and what history you will see in Epic.
First-day checklist: October 24
Twelve checks for every patient you round on. They confirm cutover landed cleanly and catch anything from the downtime window. Each step has screenshots: hover to preview, click to enlarge. If a step fails because of a system issue, submit an IT service request.
Confirm your login works and you land in the correct department. Use the virtual department if prompted.

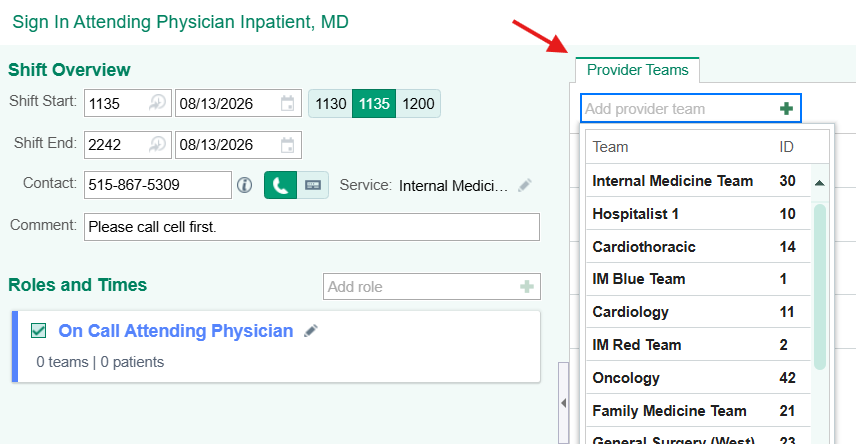
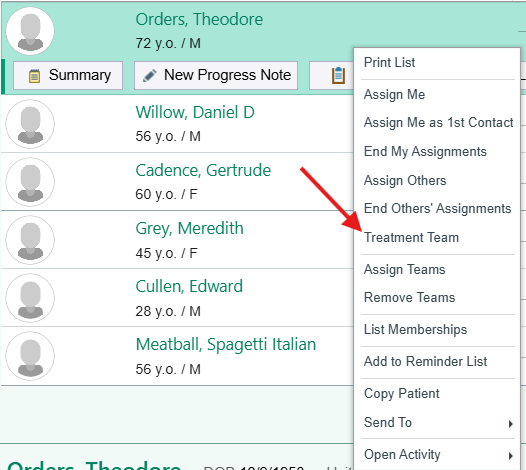
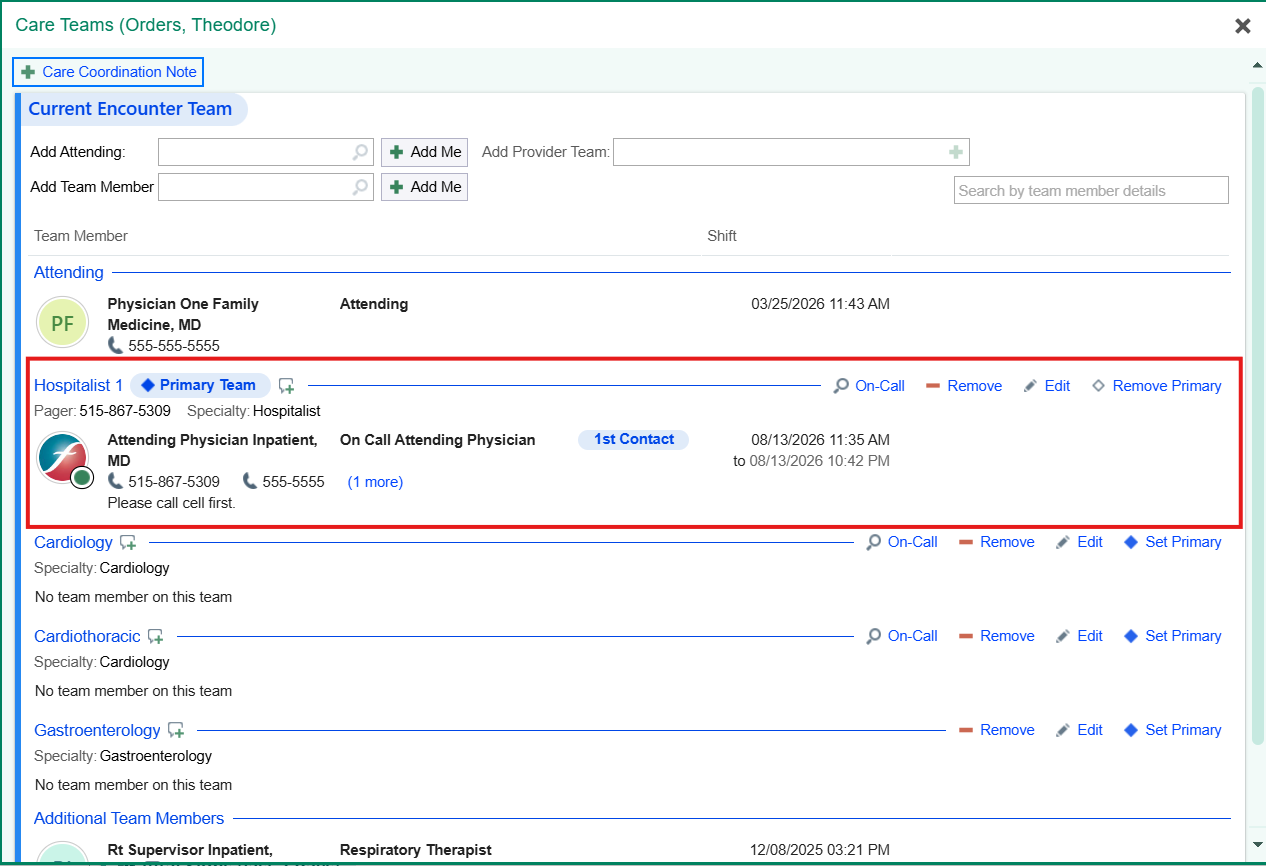
There is no sign-in window at login: if you are on the Amion call schedule, Epic signs you in to your team automatically. Not on the schedule, or a resident taking your assignments? Click Sign In on the Patient Lists toolbar, verify shift, role, and service, then search your team on the Provider Teams tab and sign in.
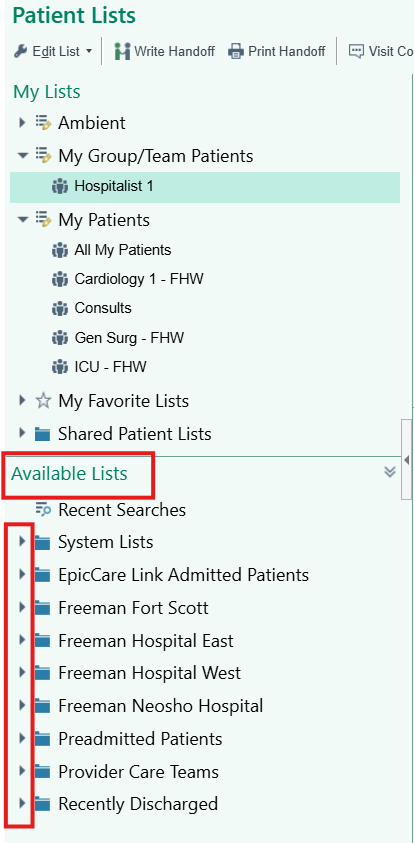
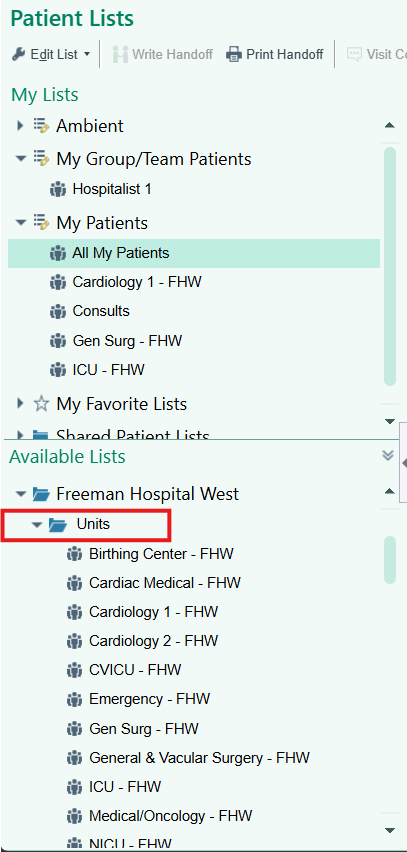

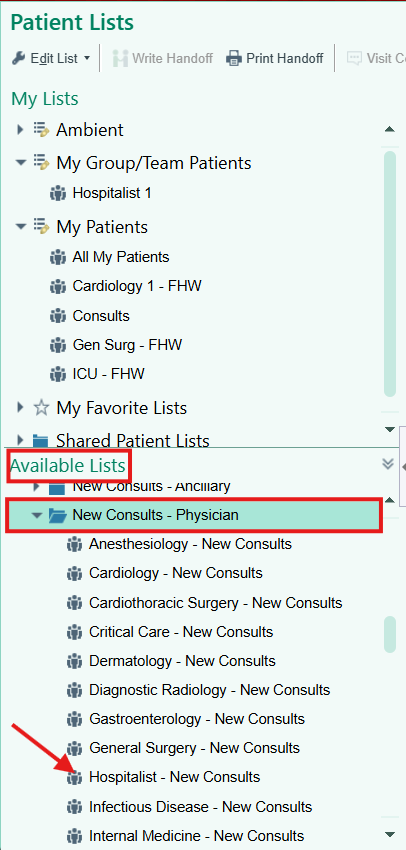
In Available Lists, open your facility folder (FH __ Hospital) and scroll to New Consults - Physicians. Use search if the patient is missing.

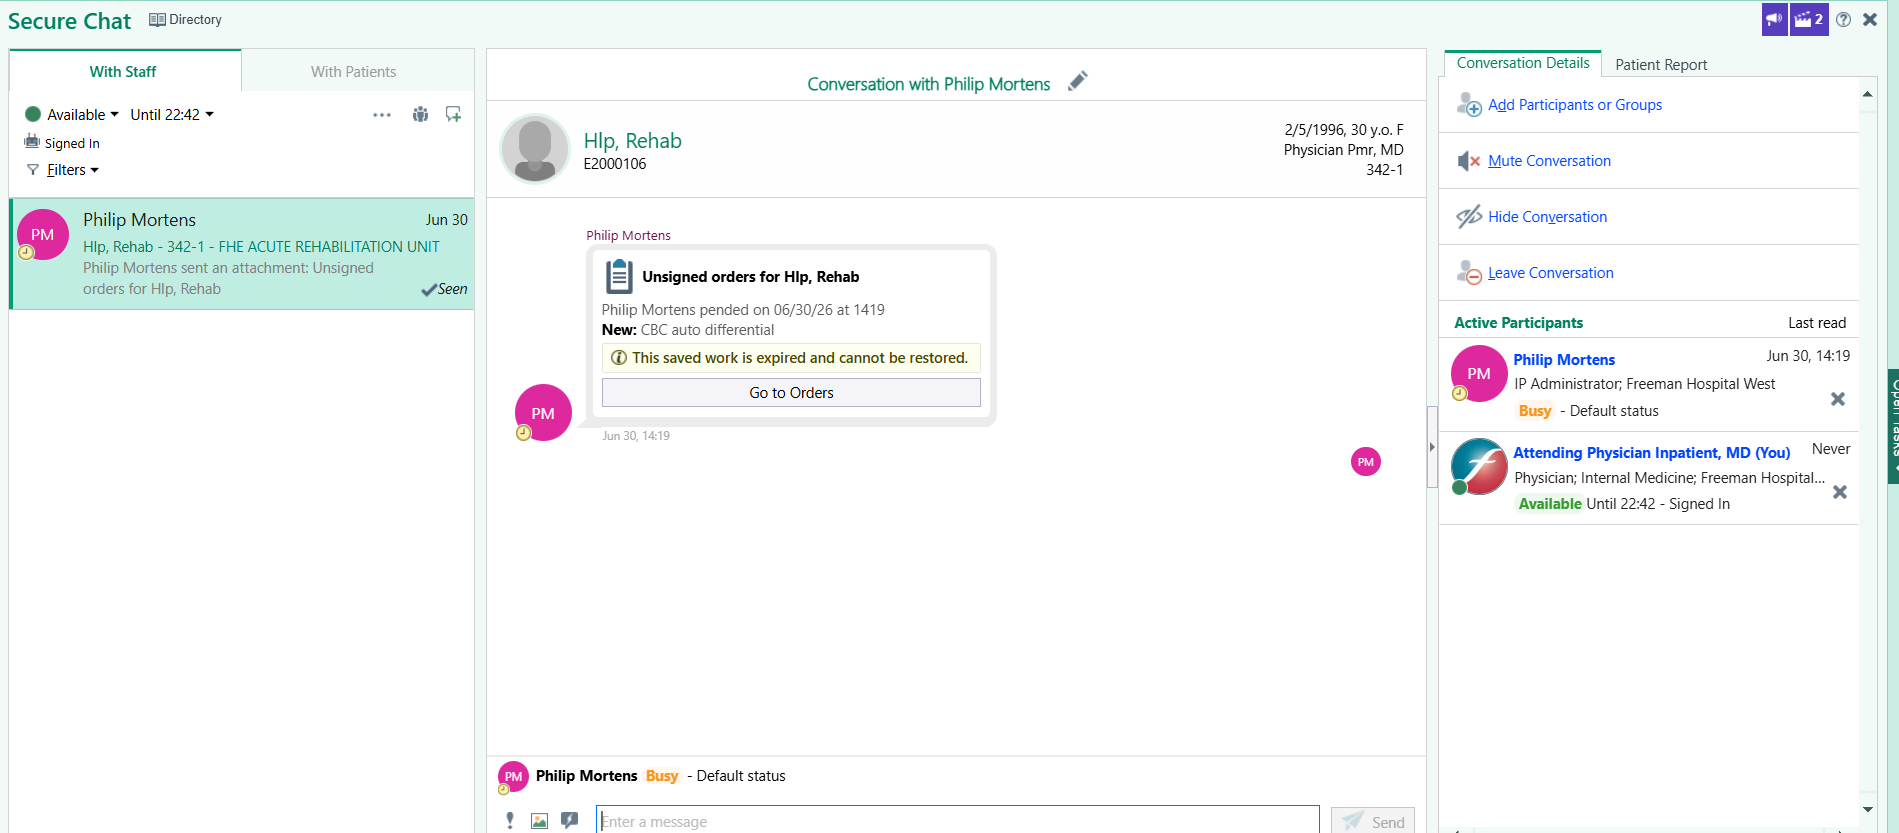
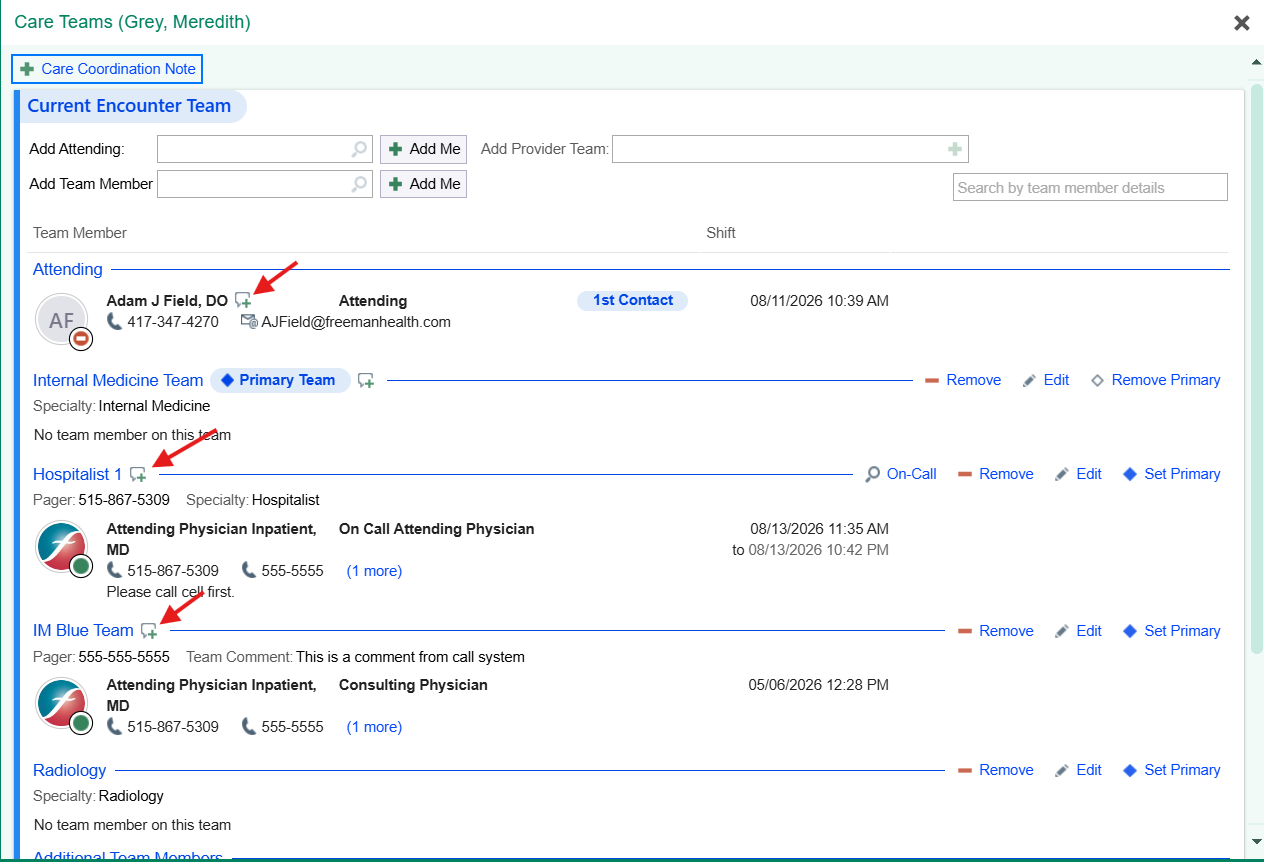
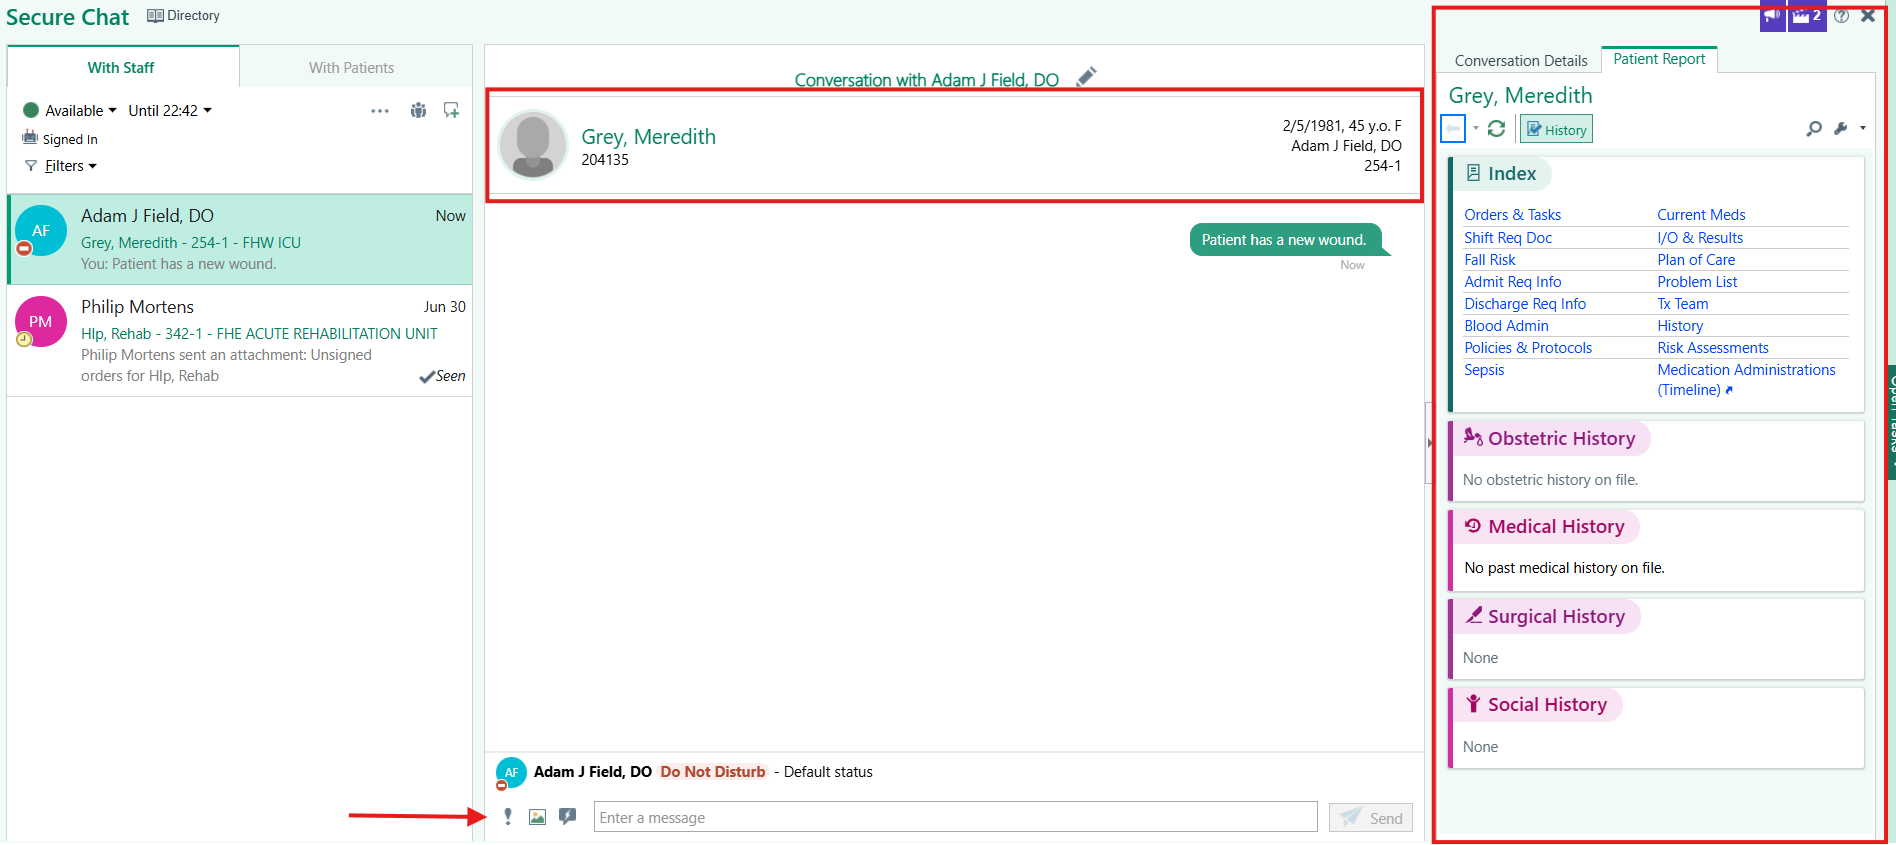
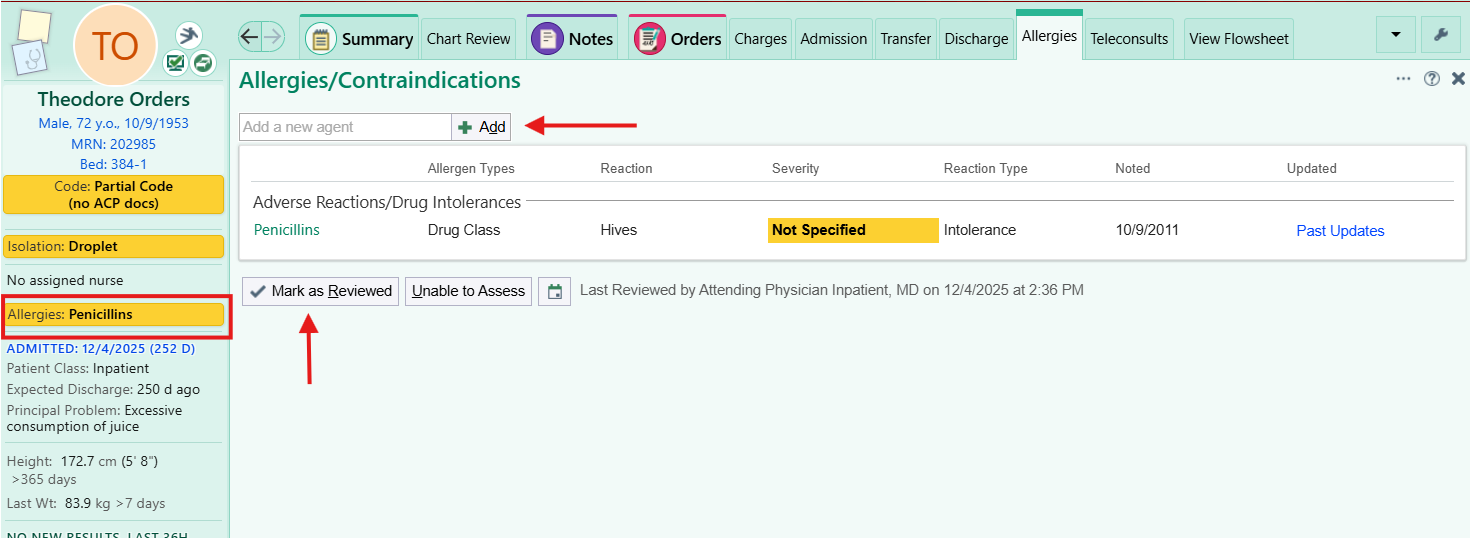
Click Allergies in the Storyboard to open the allergy navigator. Add, remove, or confirm.
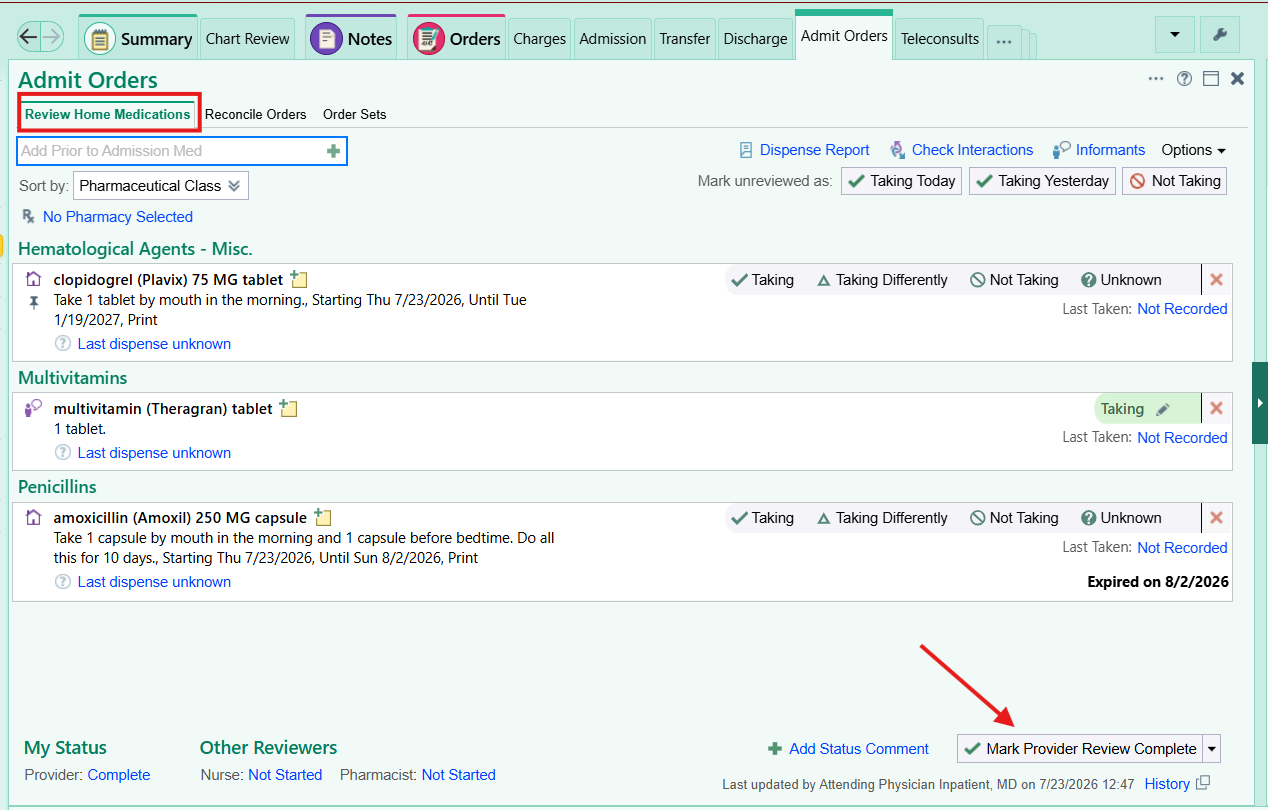
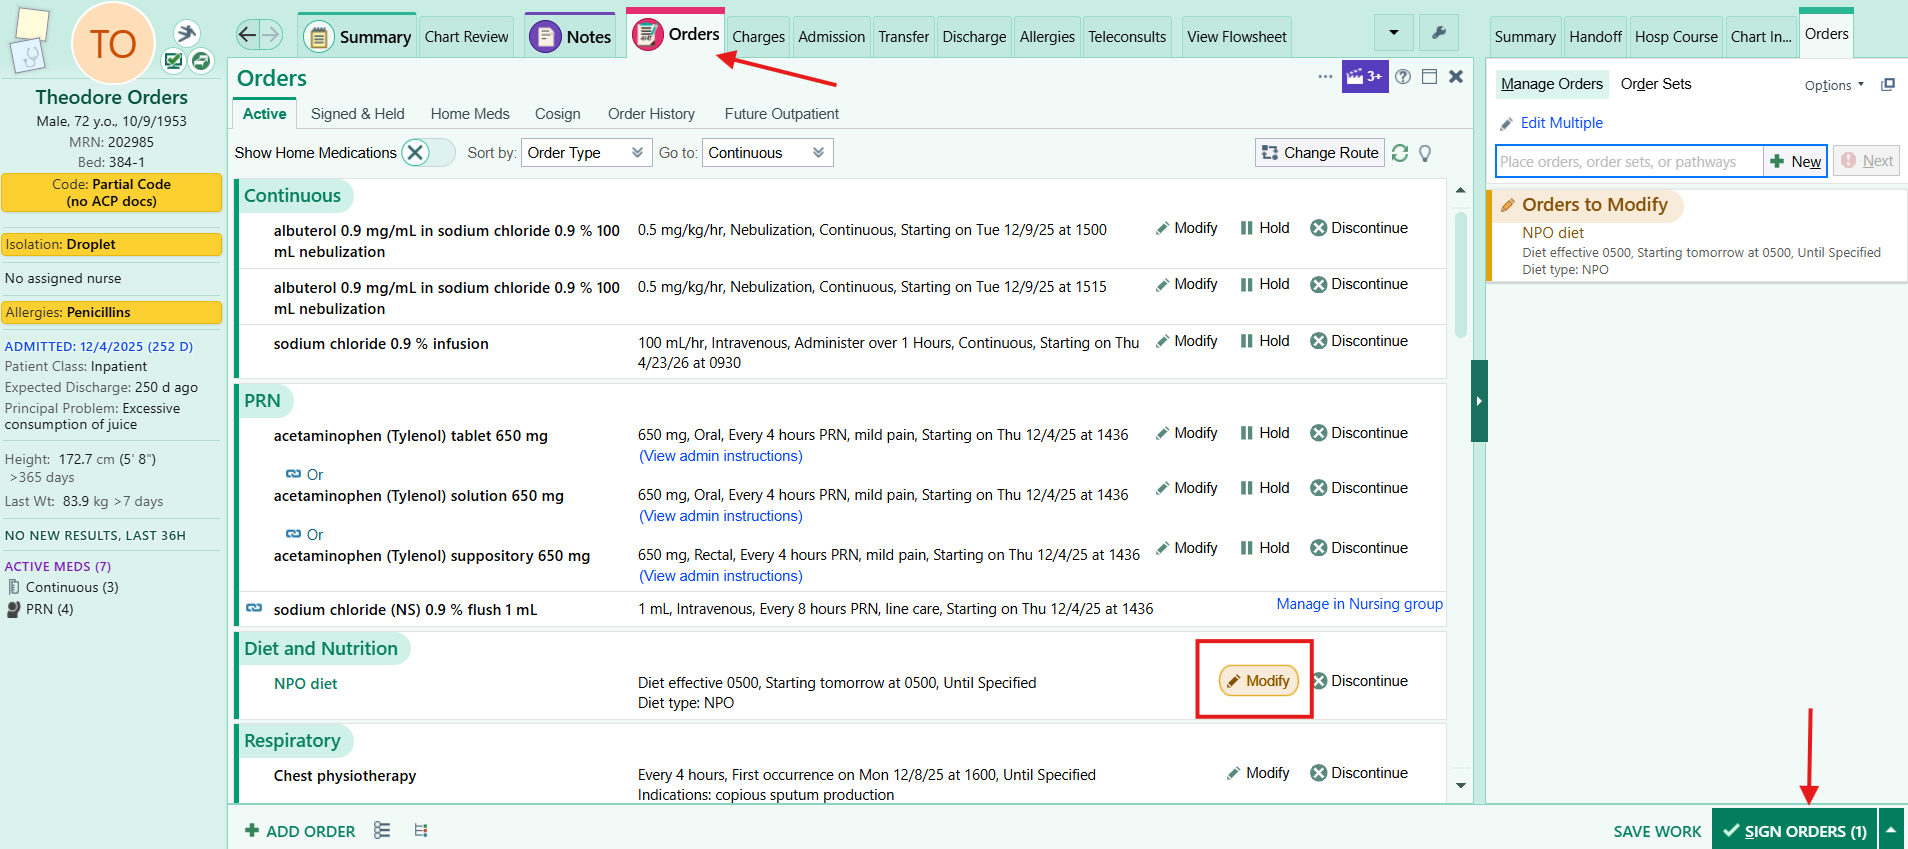
Orders navigator tab, Active. Modify then Sign any changes. If an order you expect is missing, place it now.
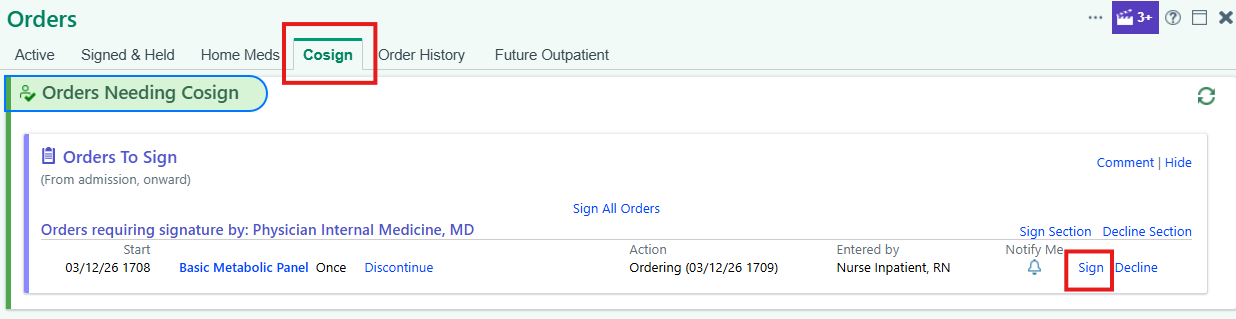
Orders activity, Cosign tab. Choose Sign or Decline. Notify Me does not clear the cosign requirement.
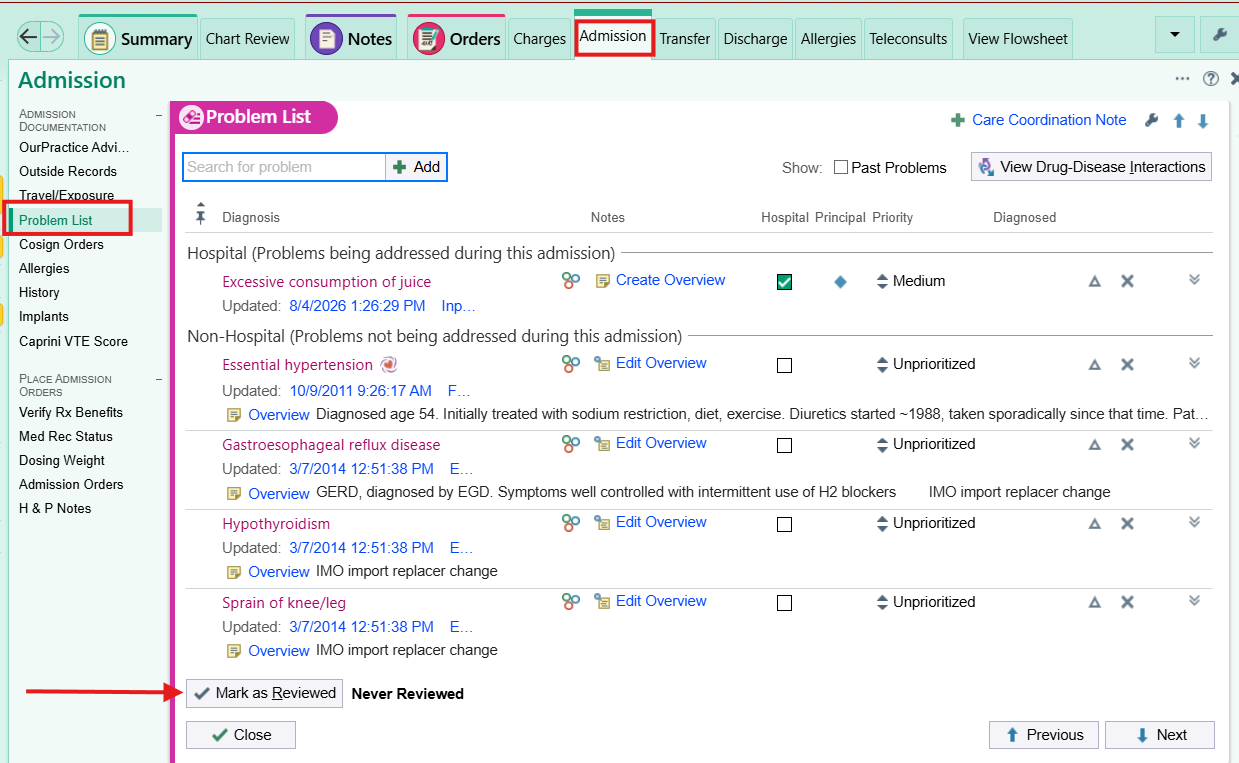
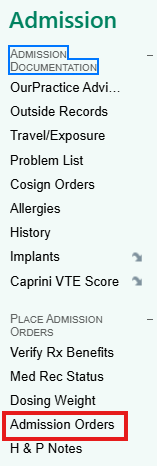
Admission tab, Admission Navigator, Problem List. Review or add active hospital problems, then Mark as Reviewed.