
PACS: read X-rays, CTs, MRIs, and ultrasounds
Freeman's image viewer is Change Healthcare Enterprise Viewer. Open a study from the report, scroll the series, window and level, measure, compare. The vendor guide skips the mouse and keyboard moves you will actually use, so they are spelled out here.
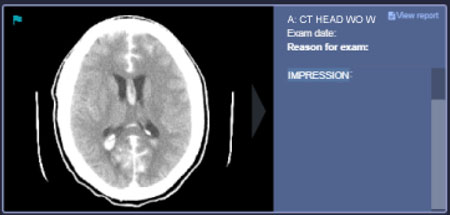
Open a study
PACS is the image viewer. Two ways in, and the one from the chart is the one you will use most.
Open the imaging report and click the Image Link icon. The images for that exam open in Enterprise Viewer with the patient already selected.

Double-click the Enterprise Viewer icon on a Freeman workstation and sign in with your Freeman network username and password.
Find a patient and a study
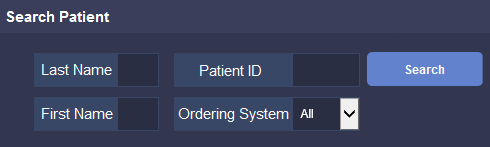
When you open the viewer from the desktop, search by last name, first name, or patient ID. Searching by patient ID needs an ordering system (context) set so the viewer knows which ID you mean. Click the study you want to open it.
Inside the patient, every study sits on a timeline across the work area. Use the Filter drop-down to narrow the list. The filters offered depend on what studies the patient has.
Story View and Detail View
Two tabs at the top of the work area. Story View is the summary; Detail View is where you read.
One study card per exam, showing its key images and the report. Double-click an image for full screen. Click the arrows to move to the next or previous key image.
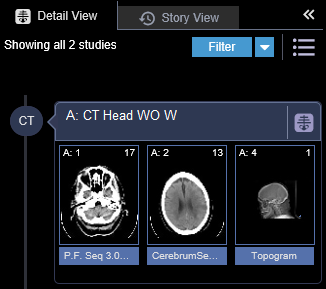
The full set of images for a study, the patient documentation, and side-by-side comparison with other studies. Point at a series and roll the mouse wheel to scroll through it, or click  Power Scroll and drag with the left button to move fast.
Mouse and keyboard shortcuts
Worked out at the workstation. Every one of these acts on the image or series you are pointing at.
Right-click tools
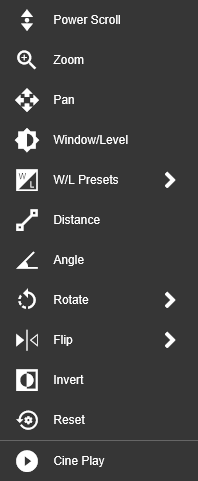
Right-click any image or series for the same tools as menu items, plus a few that have no shortcut.
Layouts and comparing studies

Image and Report Layout shows the images beside the report or scanned documents.

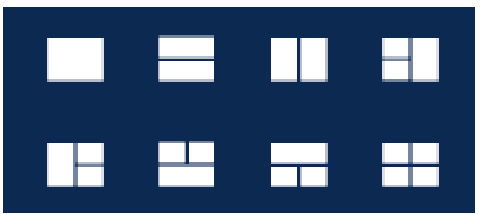
Image Layout, at the top of the screen, sets how many viewports you see. Pick the arrangement you want, then drag a series from the timeline into any viewport to compare studies.
Close the patient and log out
Click Close and choose Close Patient when you are done with the patient you are viewing. To leave the viewer, choose Logout. Log out on shared workstations rather than leaving a patient on screen.
Touch gestures
 Scroll through imagesDrag up or down
 Next or previous imageFlick right or left
 Full screen on or offDouble-tap
 ZoomStretch or pinch
 PanTwo-finger drag
 WindowThree-finger drag right or left
 LevelThree-finger drag up or down
Need help
Login trouble or a password reset: call the IT Help Desk at 417-347-4500.