
Home › Epic › Day One and Week One › Outpatient guide
Outpatient Quick Start Guide
A clinic day in Epic, start to finish, in the order you will do it: for your first weeks here, or as a refresher after time away. For physicians and advanced practice providers (APPs) seeing patients in a Freeman clinic. Every screen below is from Freeman's Epic: click one to enlarge it and step through the rest of that section. Clinics go live Monday, October 26.
Want it as a short list? The Clinic first-day checklist has the same day in twelve checks.
Before your first day
Five things that make the first morning smooth. Each one has its own page.
Finish training and test-out. Your Epic login depends on it.
Set up Haiku and Secure Chat on your phone. Staff reach you through Secure Chat messages and Epic VoIP calls.
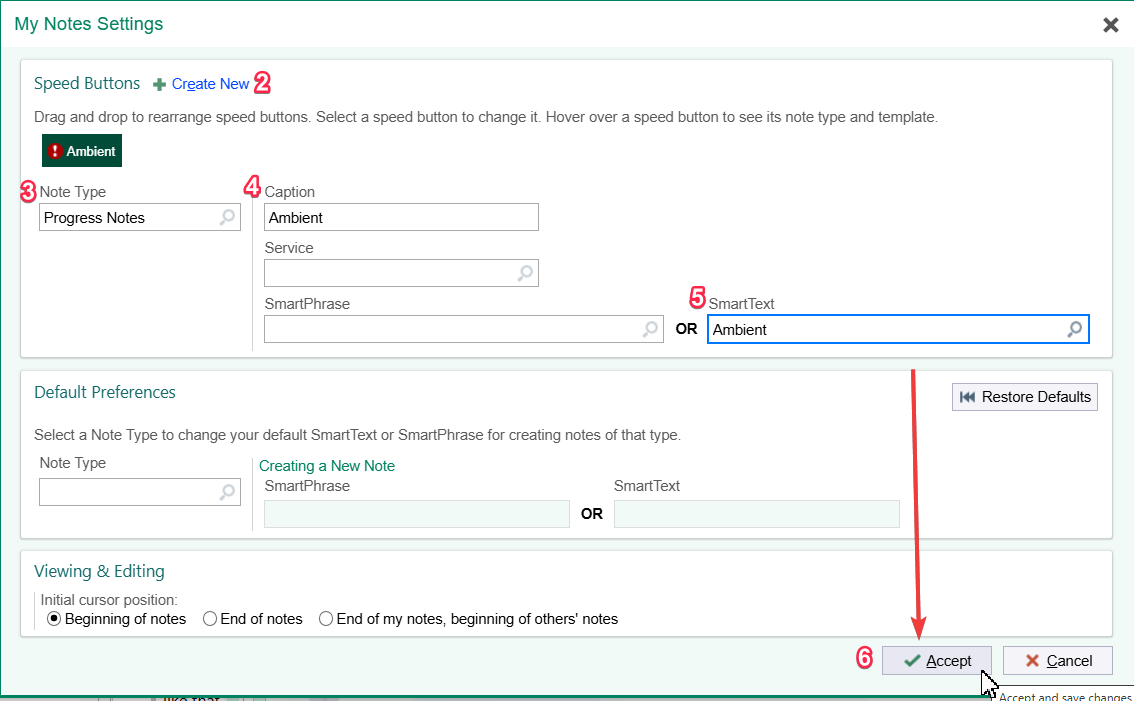
Personalize Epic. Speed buttons, preference lists, and SmartPhrases make every visit faster. What you built in production (PRD) is already there.
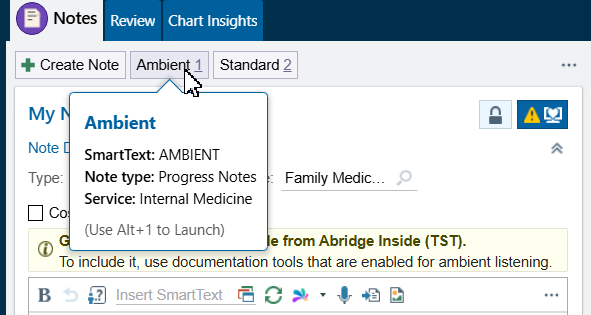
Build your Abridge speed button and pin the Abridge tab if you will record visits.
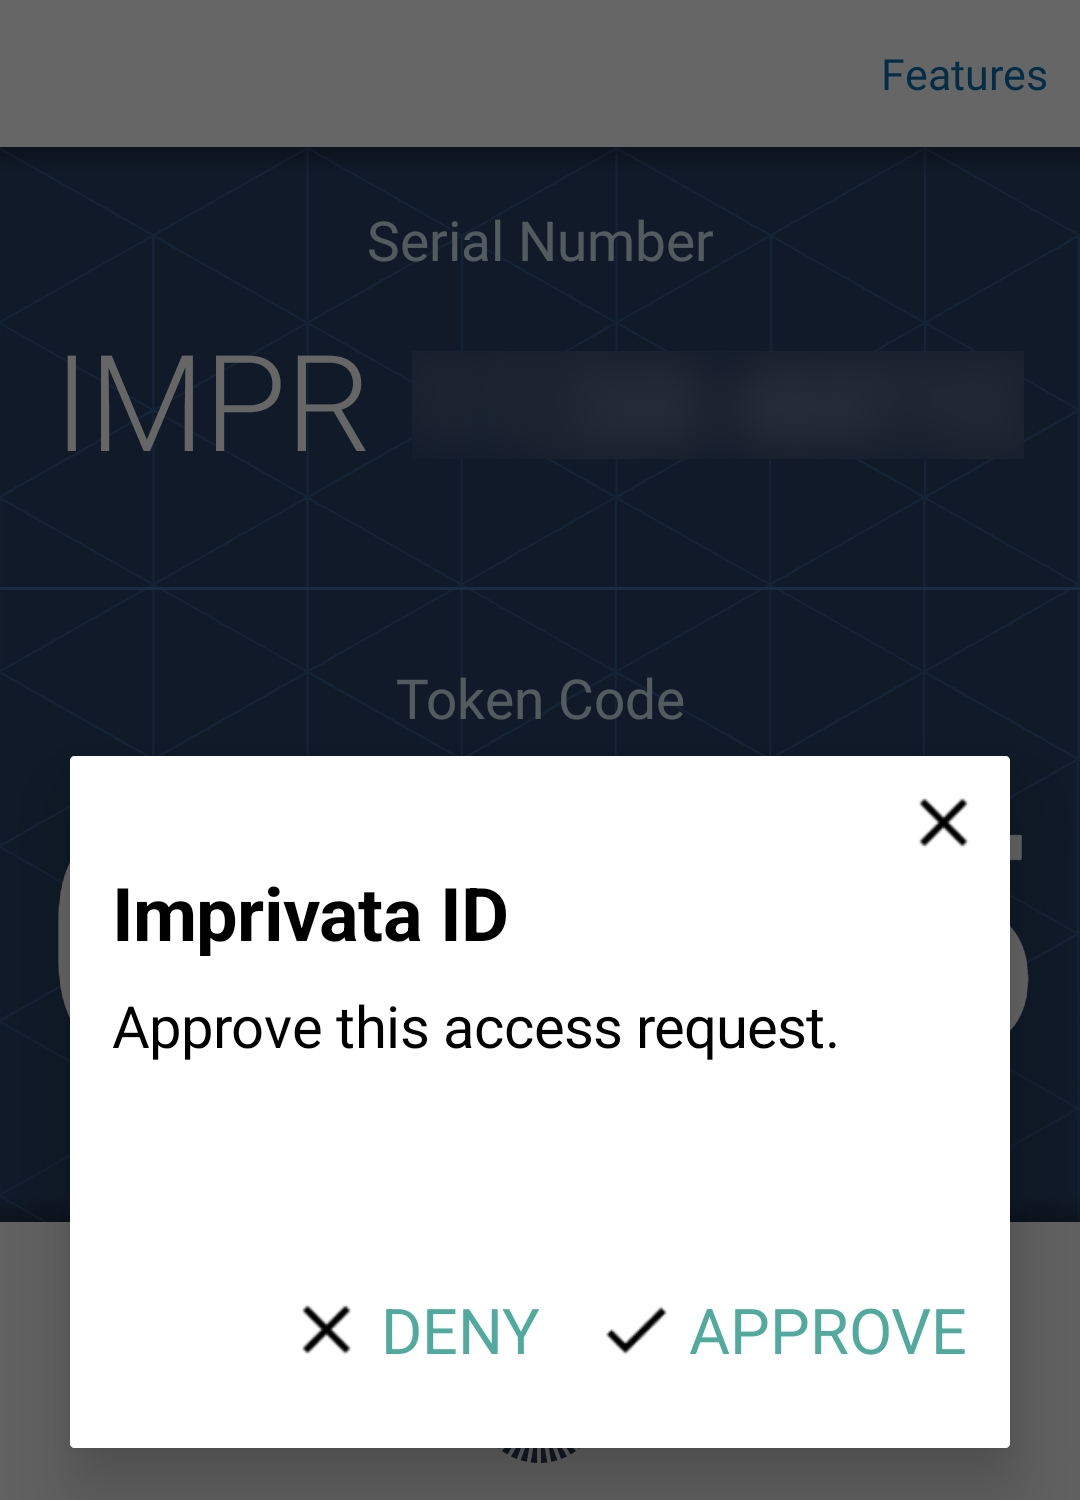
Prescribe controlled substances? Set up Imprivata ID on your phone for electronic prescribing of controlled substances (EPCS).
Log in to the right department
The department you log in to sets your schedule, your workspace, and the clinical content you see.
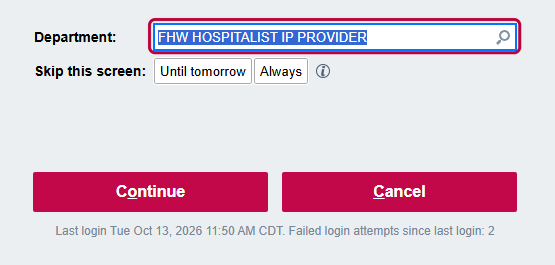
Work in a clinic, or in both a clinic and the hospital? Log in to your clinic department. Hospital-only providers use their facility and specialty inpatient department instead.
Work in more than one clinic? Pick the right department on the login screen, or switch later with the department menu next to Log Out at the top right of Epic.
Open your schedule
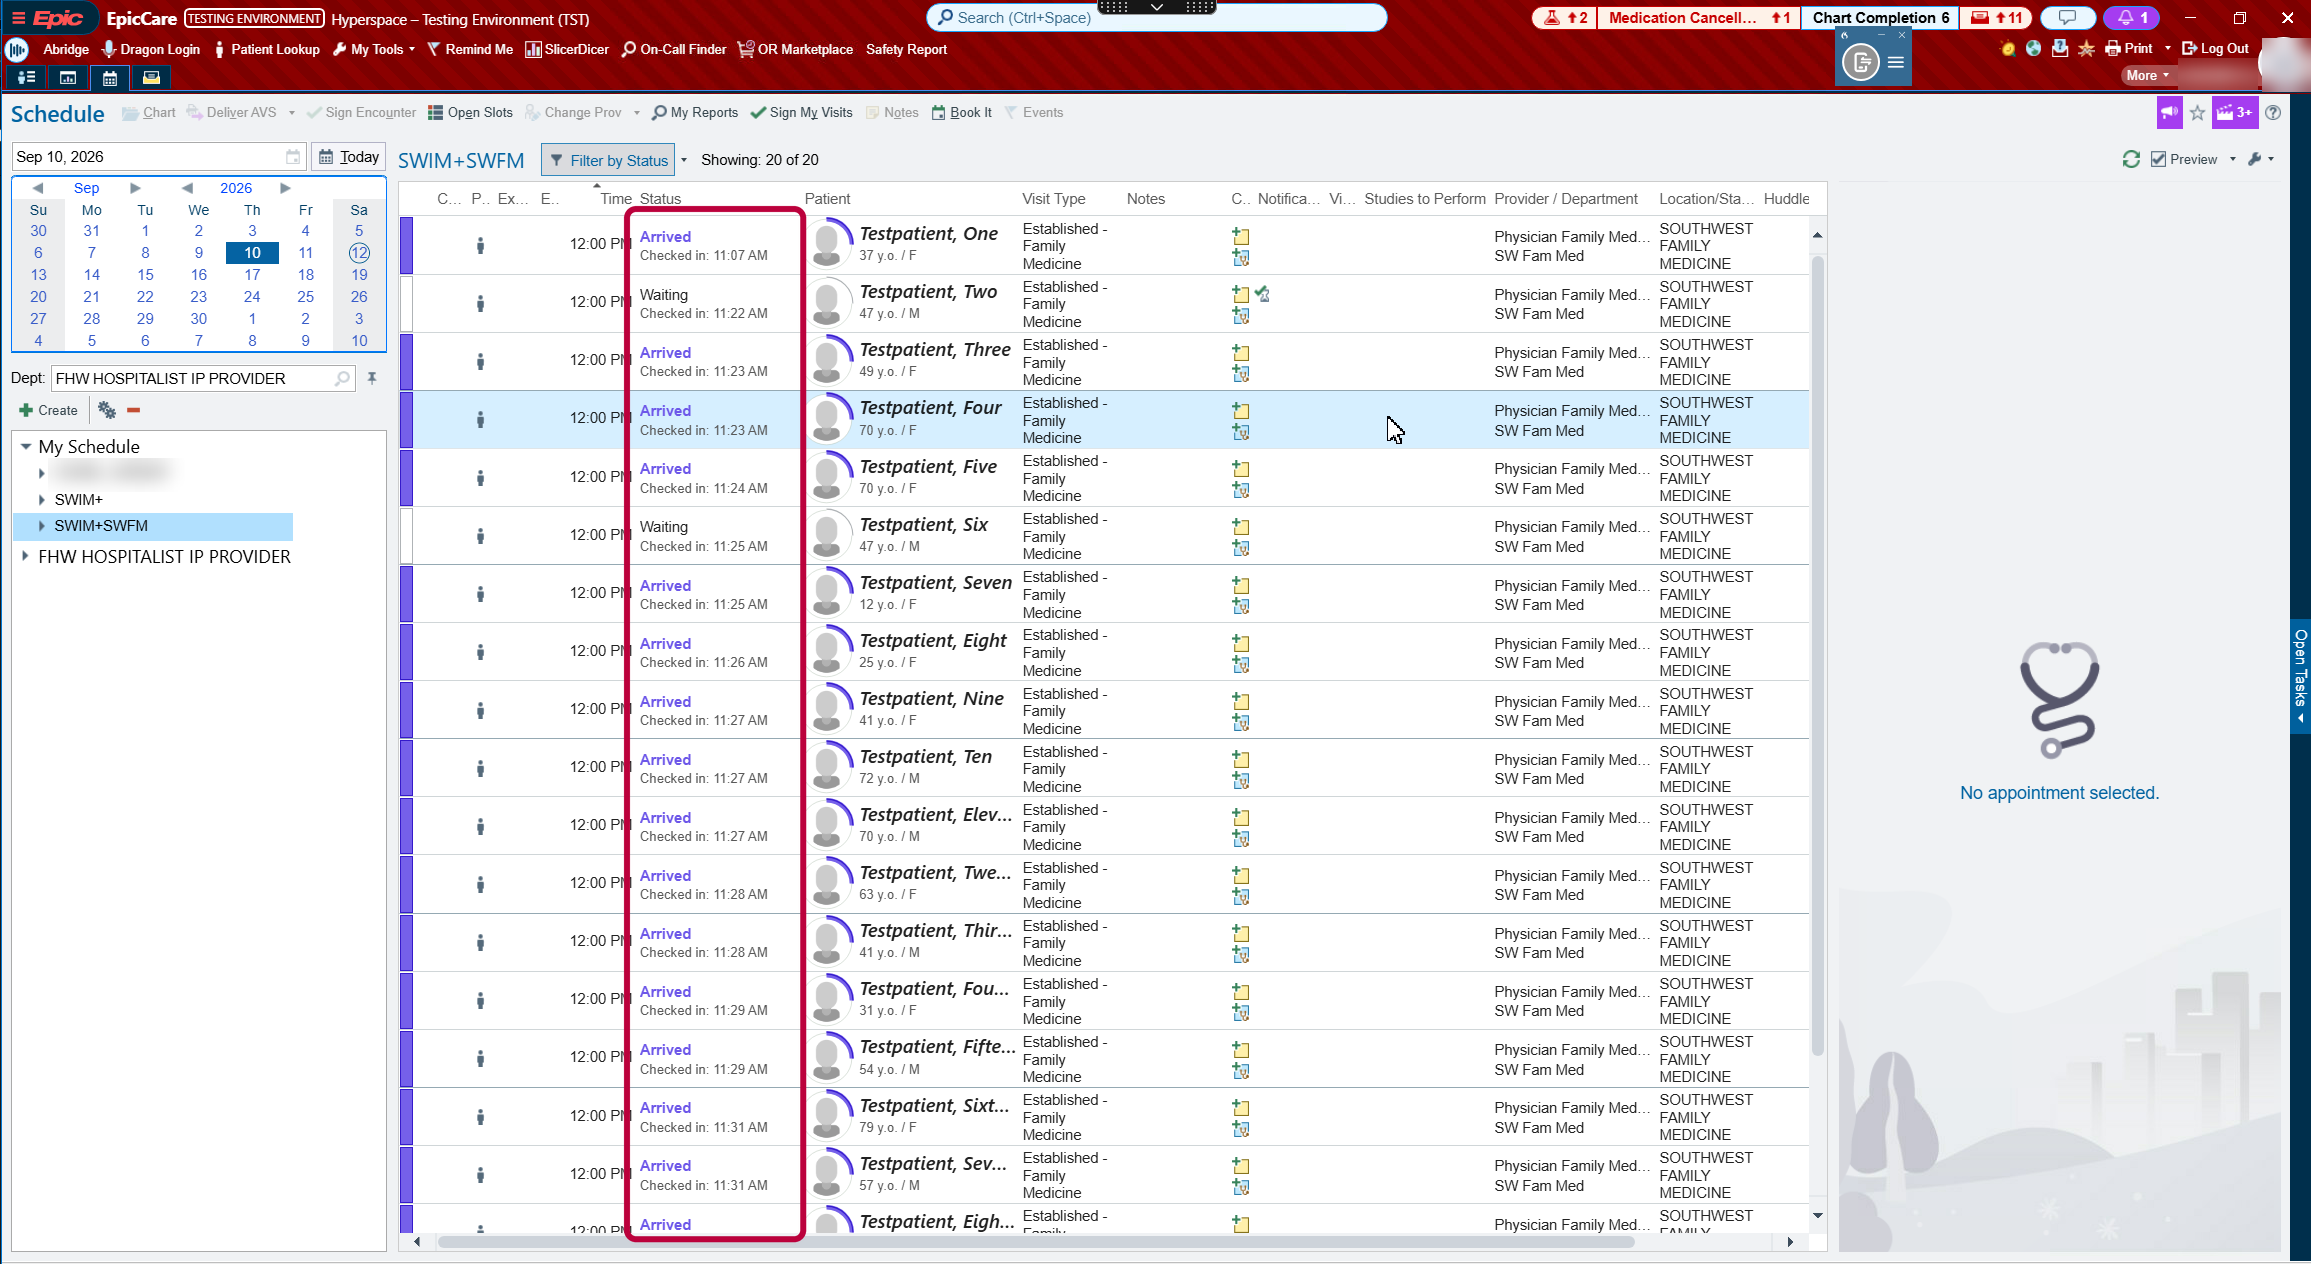
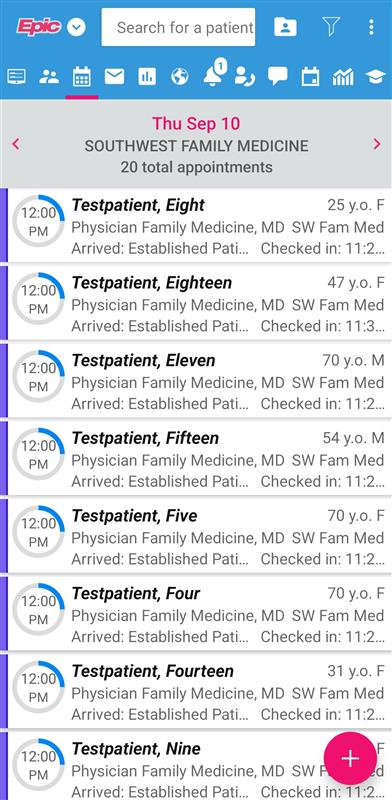
Your schedule is the first screen after login and your home base for the day.
Check the day. Use the arrows or the calendar to move between days. Click the name at the top left to see your department's schedule or another provider's.
Preview without opening. Single-click an appointment to see a summary (allergies, problems, medications) in the report pane. Double-click to open the visit.
Watch for look-alike names. Patients with similar names show in bold italics: a cue to confirm you have the right person.
Compare it with what you expect. Appointments were loaded into Epic by hand, clinic by clinic. Tell the front desk about a missing or duplicate visit as soon as you see it. Make it yours: the wrench at the top right of the schedule adds and orders columns.
Pre-chart your first patients
Open a visit before the patient arrives and get ahead on the note, diagnoses, and orders.
Open the appointment early. If the patient has not arrived, Epic opens Pre-Charting. Draft your note, add diagnoses, and pend orders as you would in the visit.
Pend, do not sign, if the visit might not happen. A signed order is carried out even if the patient never comes. Unsigned work from a no-show clears itself 30 days later.
When the patient arrives, click Start the Visit to get all your usual tools.
Know what history is there. About three years of notes and labs converted from the legacy systems; outside records arrive on their own through Care Everywhere.
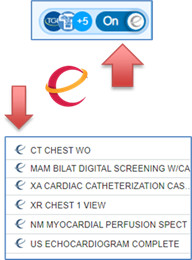
Search instead of scrolling. Press Ctrl+Space and type a word (a condition, a drug, a test) to see everything related in the chart.
Review and reconcile in the room
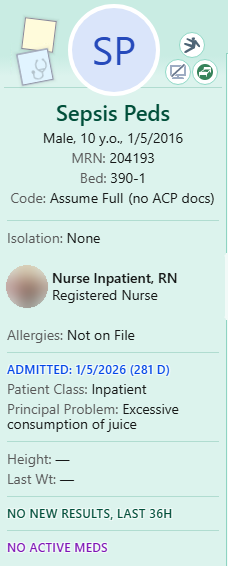
Start with Storyboard, the strip down the left of every chart: allergies, problems, medications, and care team. Hover over a section for more.
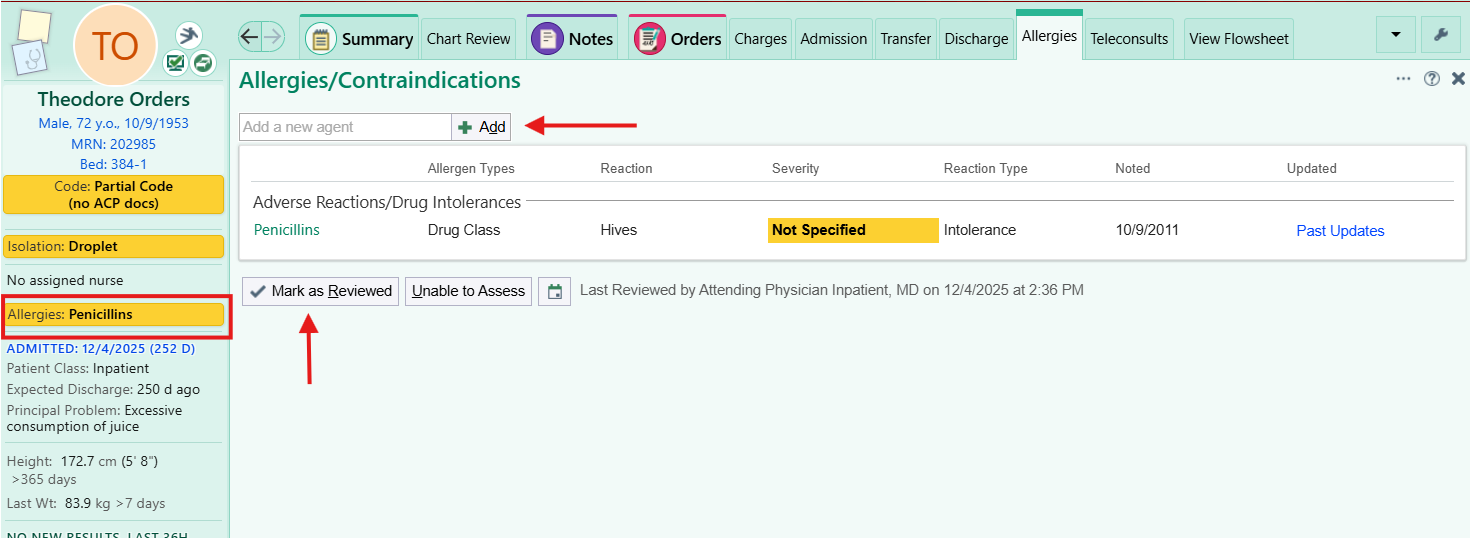
Reconcile the problem list, medications, and allergies, then click Mark as Reviewed. Your note inherits whatever is wrong in those lists.
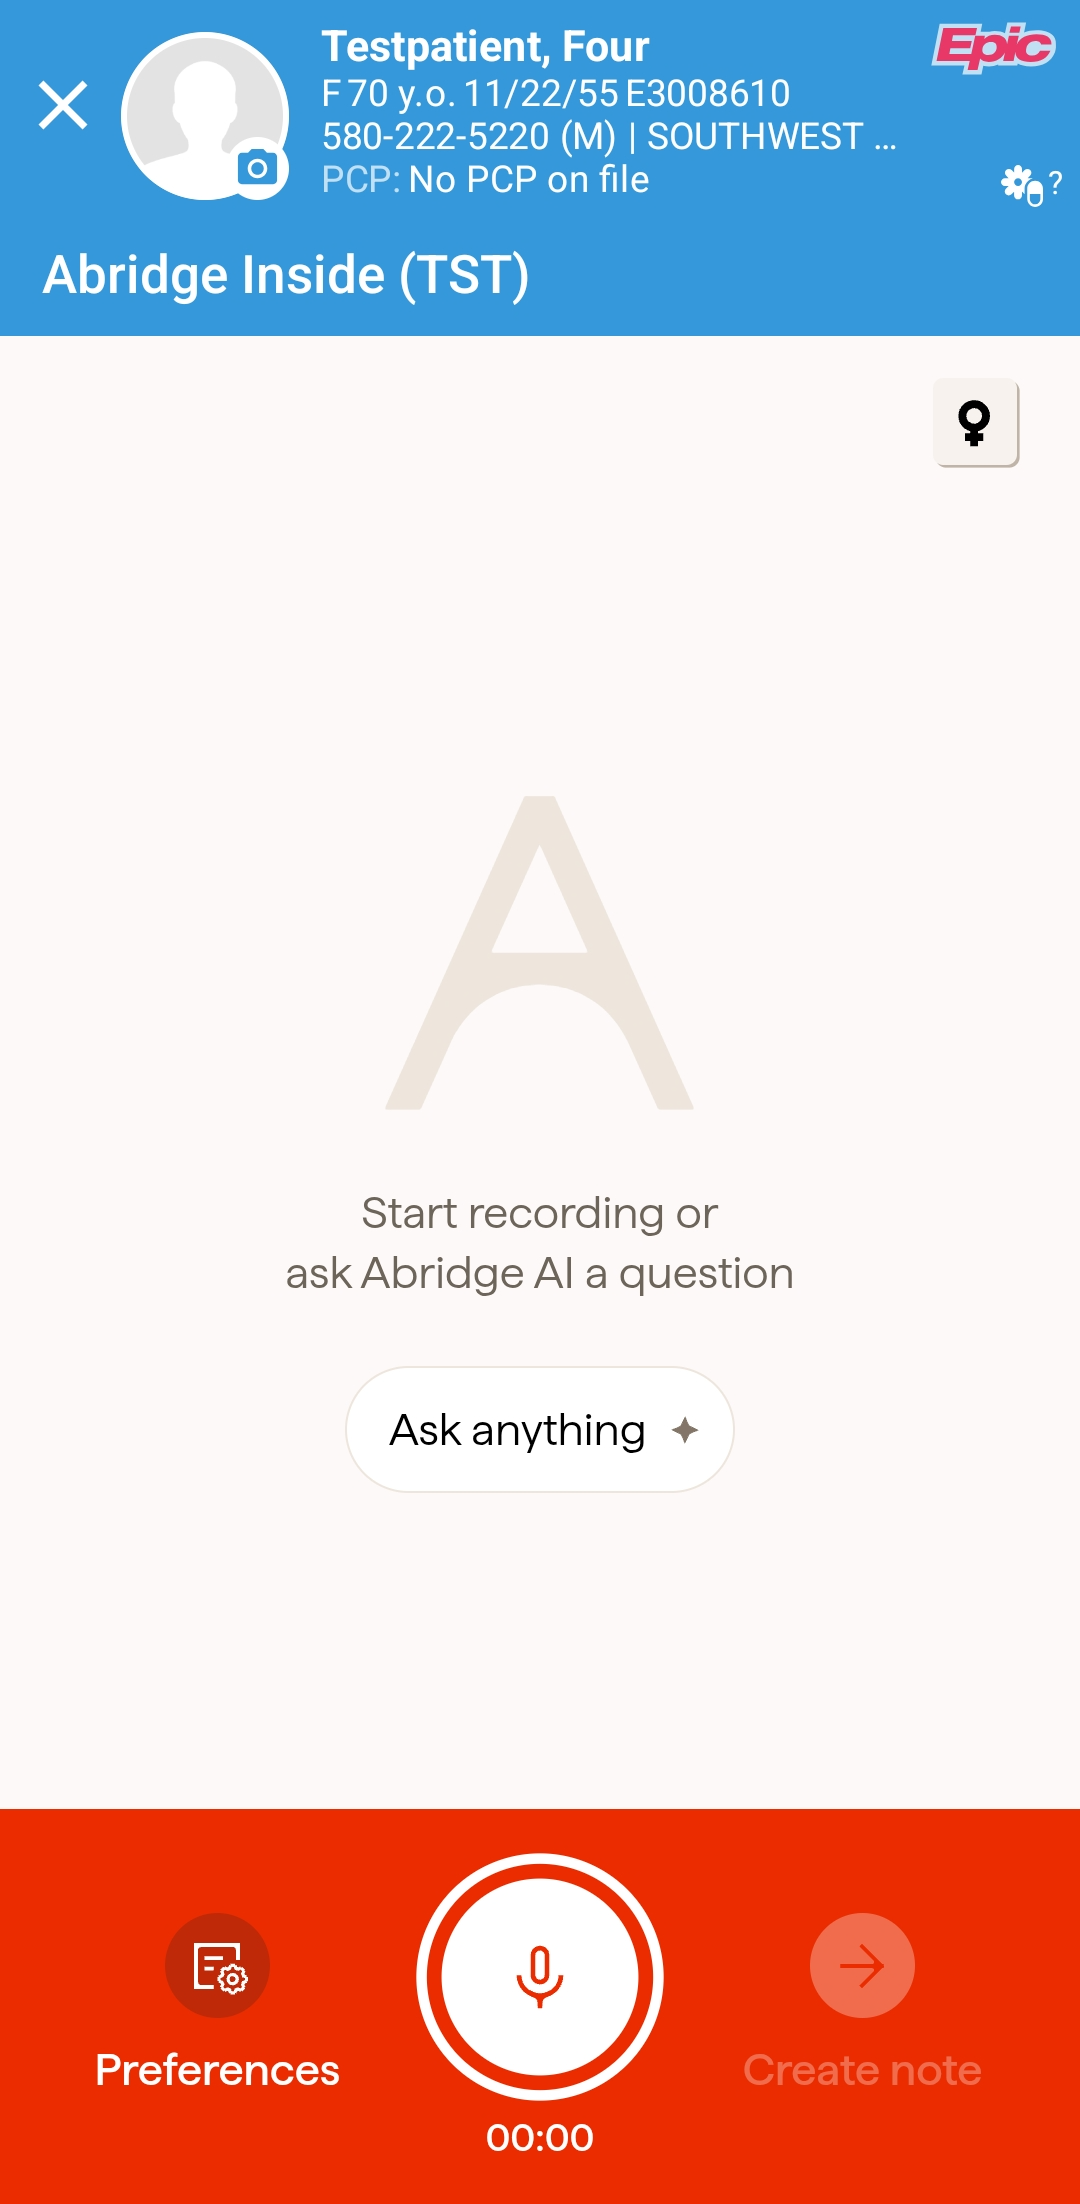
Recording with Abridge? Start it in Haiku when the conversation starts. The draft note, and the orders and diagnoses Abridge heard, wait for you in Hyperspace.
Dictating instead? Dragon Medical One works in every text field.
Write the note
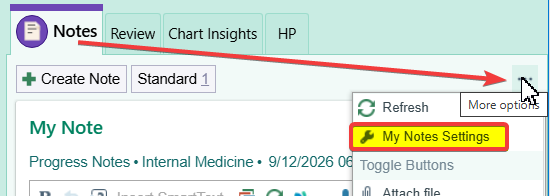
Start from a speed button next to Create Note (yours, like Ambient), or click Create Note and pull in a SmartText or SmartPhrase.
Fill the blanks fast. Press F2 to jump to the next blank (***) or pick list. SmartLinks pull in vitals, labs, and medications for you.
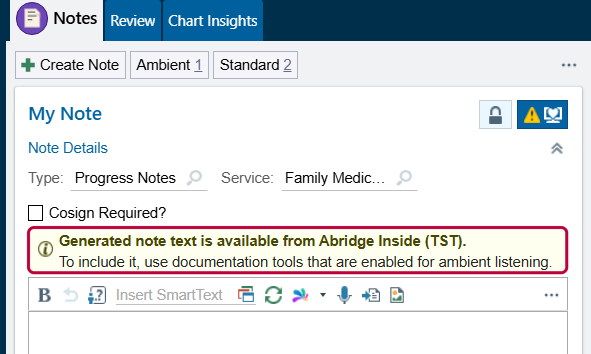
With Abridge, a banner says the generated note is ready. Pull it in, then edit and verify it like your own.
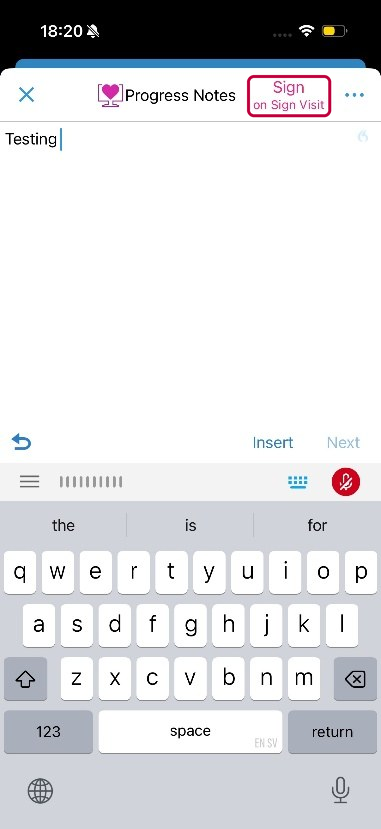
No separate note signature. Your progress note is signed when you sign the visit.
Diagnoses, orders, prescriptions, and referrals
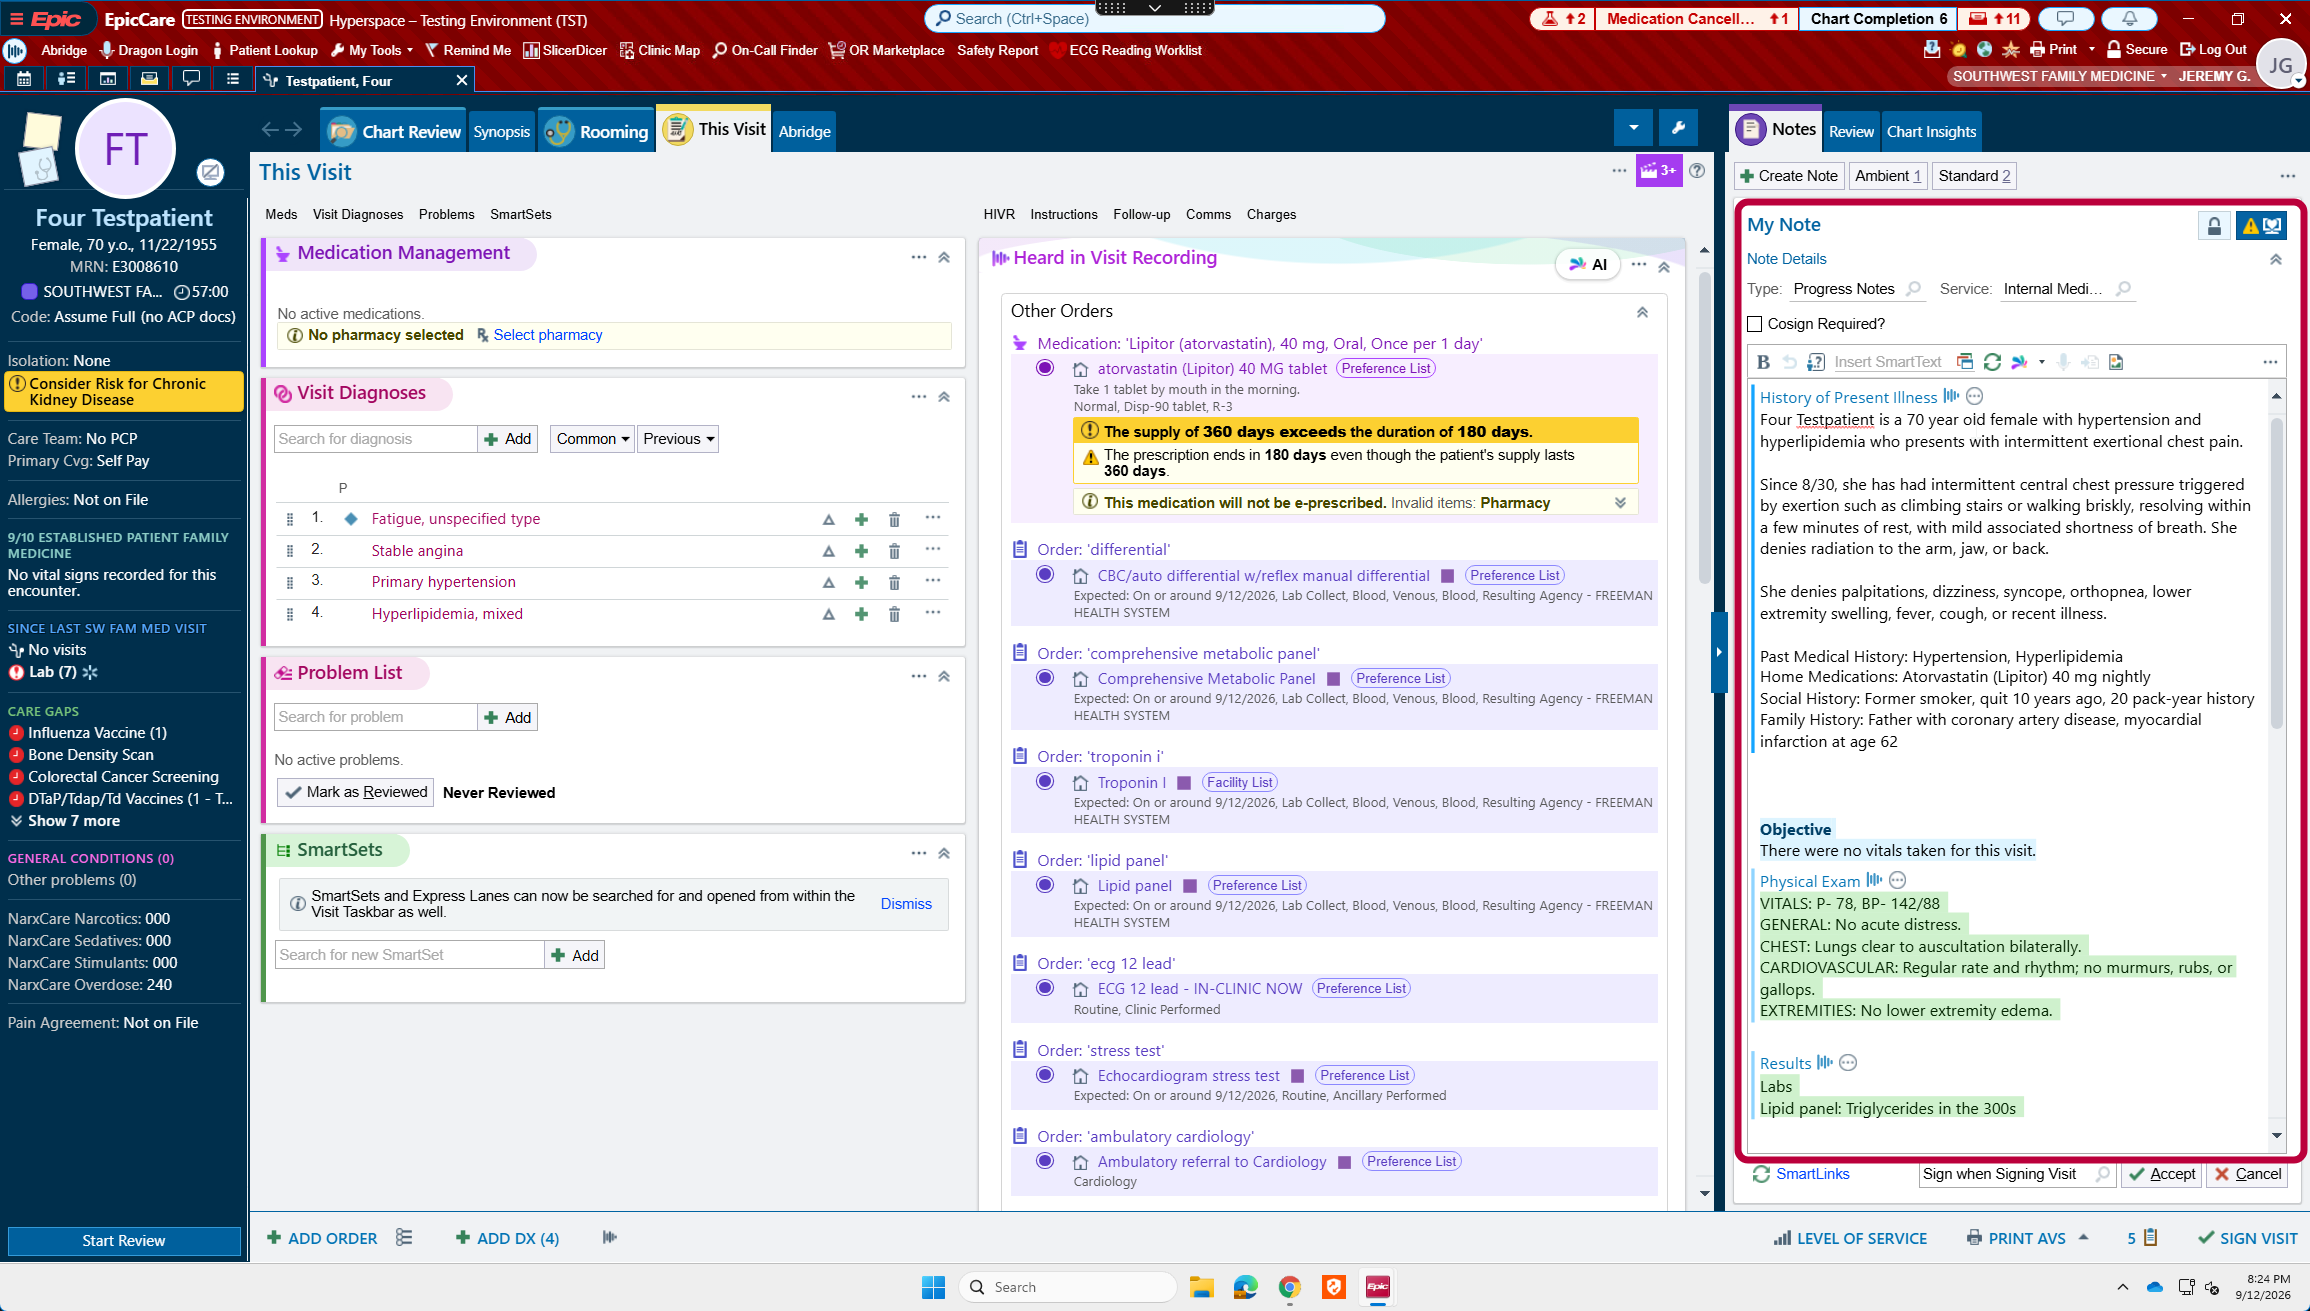
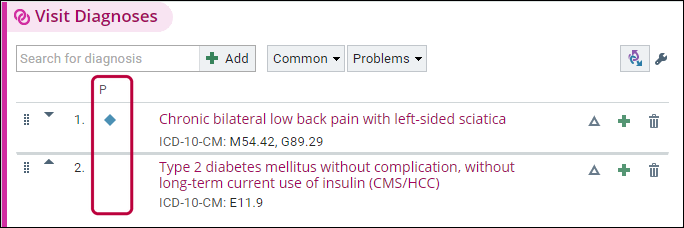
Visit diagnoses first. Click Add Dx in the visit taskbar, or add a problem straight from Storyboard. The first diagnosis is primary; click the P column to change it.
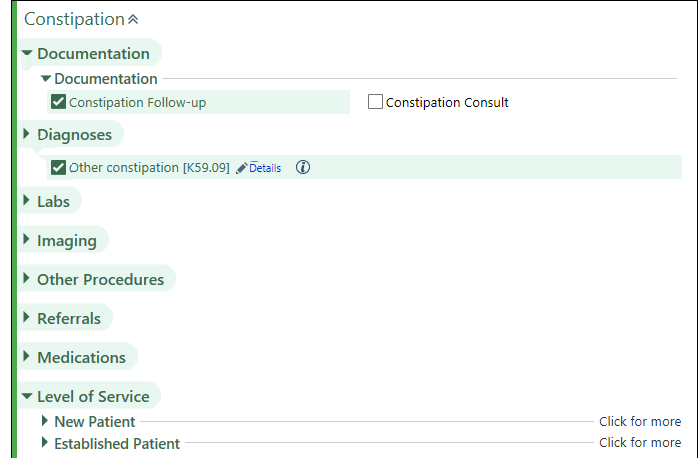
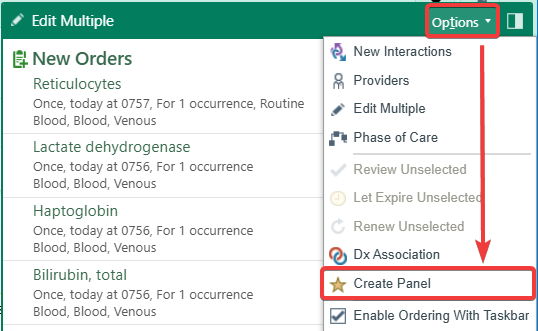
Orders. Click Add Order (or press Ctrl+O), type the first few letters, or pick from your preference list. An order panel places a set at once. A SmartSet bundles diagnoses, orders, instructions, and level of service for a common visit type.
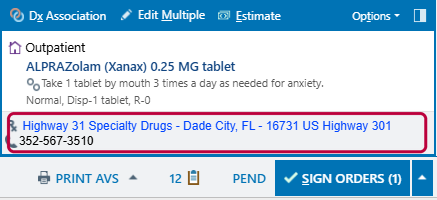
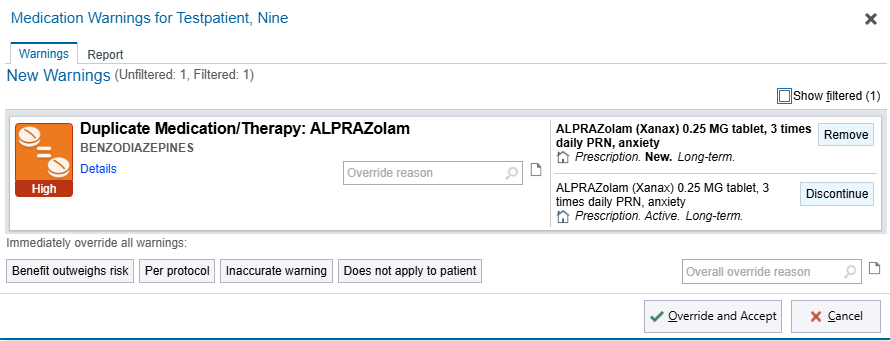
Prescriptions. Confirm the pharmacy on the order, check the formulary and copay columns, and mark chronic medicines long-term. Controlled substances go through the EPCS steps.
Referrals. Add the referral order and click its name to fill in the details: internal (inside Freeman) or outgoing (outside Freeman), and the specialty, department, or provider. Signing starts the insurance authorization; an internal referral also asks scheduling to book it.
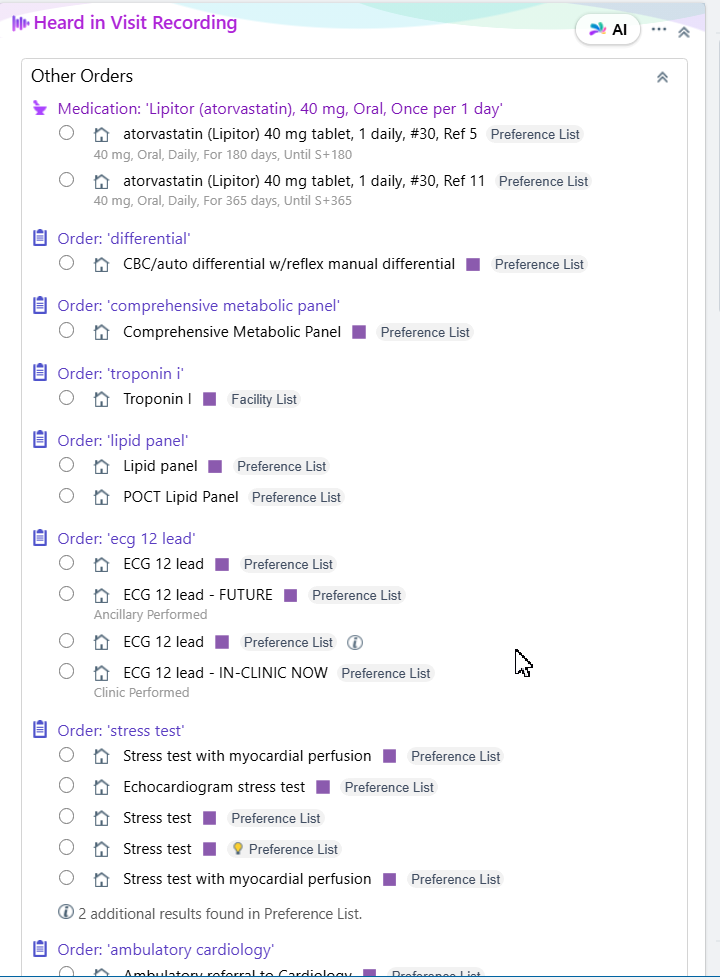
Said it out loud with Abridge? Those orders wait in Heard in Visit Recording for you to choose and sign. Every order needs a diagnosis when you sign.
Wrap up and sign the visit
Signing the visit closes the encounter, files the charges, and signs your note. An unsigned visit is not billed.
Patient instructions. Type them, use a SmartPhrase, or attach a clinical reference article. Instructions for Patient drafts them with AI from your visit documentation; review and edit before you accept. Recorded with Abridge? Type .ambientptinstructions to pull its patient summary into Patient Instructions. They print on the After Visit Summary (AVS).
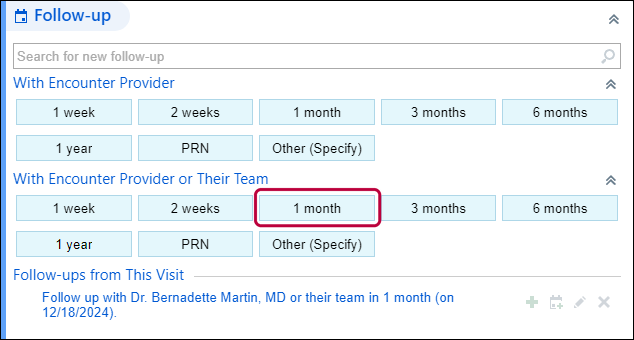
Follow-up. Click a follow-up button (for example, 1 month with you) so the front desk, or the patient in MyFreemanHealth, can book it.
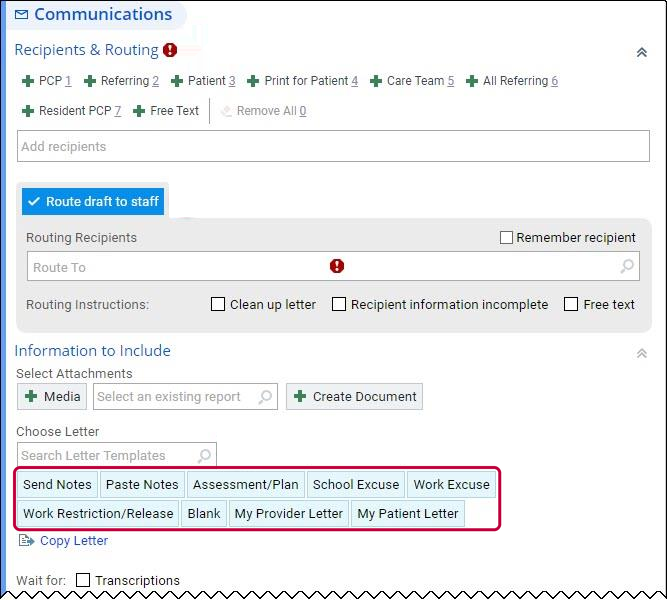
Close the loop. Send a letter to the referring provider from the Communications section.
Level of service and charges. Choose the level of service and any modifiers; add procedures in Charge Capture.
The AVS. Ask whether the patient wants it printed. If not, it goes to MyFreemanHealth when you sign.
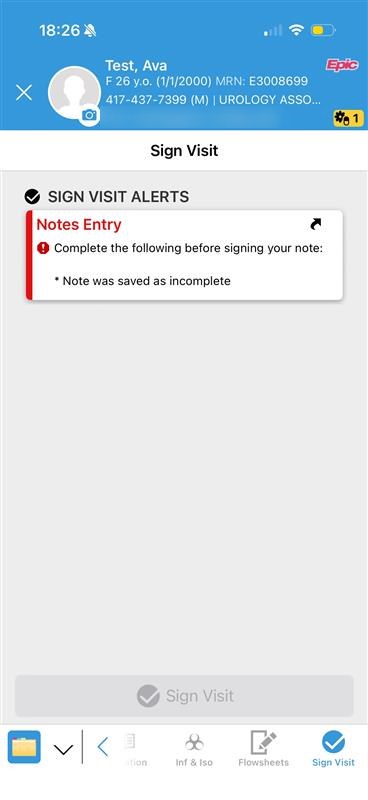
Click Sign Visit. If anything is missing, Epic lists it; click an item to jump there, fix it, and sign again. Signed notes and results go to the patient in MyFreemanHealth right away.
Work your In Basket
In Basket is Epic's inbox: results, patient messages, refill requests, cosigns, and reminders about unsigned visits.
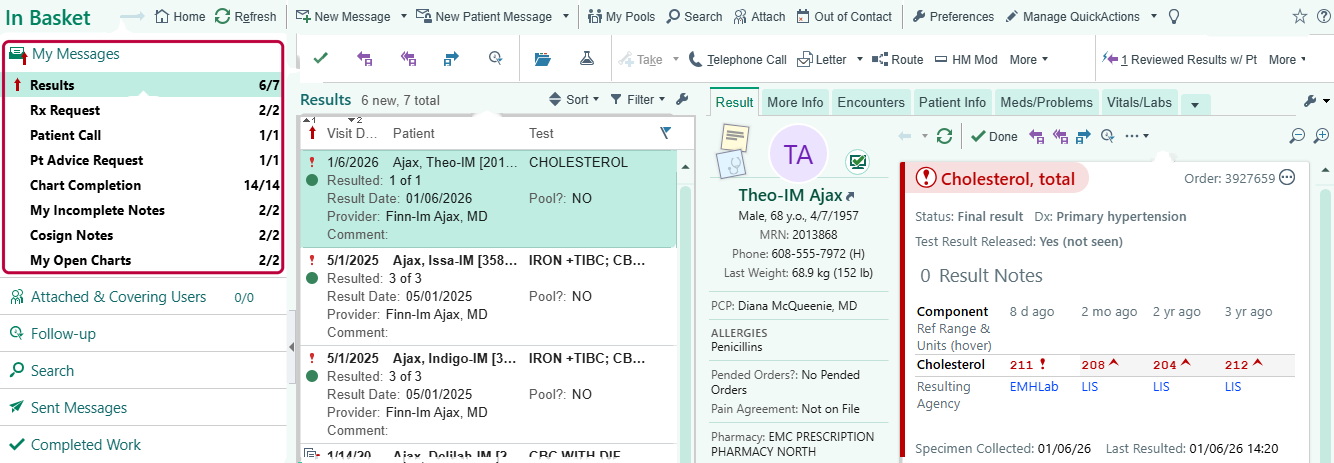
Open it from the In Basket icons at the top of Epic. Each message type has its own folder.
Your pool is shared with your medical assistant. Refill requests and MyFreemanHealth messages land in the pool first and come to you as needed.
Results. Open Result Management from the message to write a result note, send it to your nurse pool, and message the patient. Results release to patients automatically, so many will have seen them already.
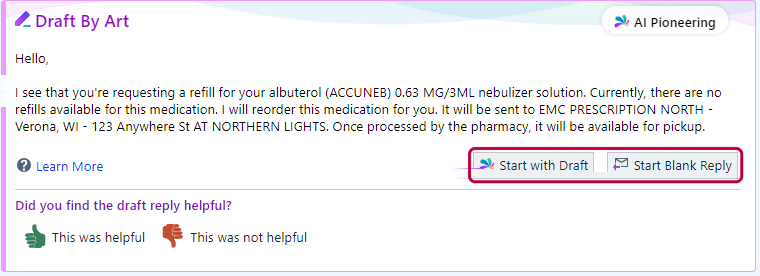
Patient messages. Many arrive with an AI-drafted reply. Check it against the chart, then Start with Draft to edit it, or Start Blank Reply. A draft does not place orders or refills for you. For replies you send often, build a QuickAction.
Not sure what a message wants? Click Help above it for what it is and how to clear it.
My Open Charts lists visits you have not signed. Clear it before you leave.
Before you leave
Every visit signed: level of service, charges, and note.
In Basket cleared or routed, including My Open Charts.
Tomorrow's first patients pre-charted.
Your list of what slowed you down, for your Super User (how-to questions) or Epic Suggestions (ideas to make Epic better).
Who is helping
Ask in person first, in this order. A ticket is for what nobody nearby can fix.
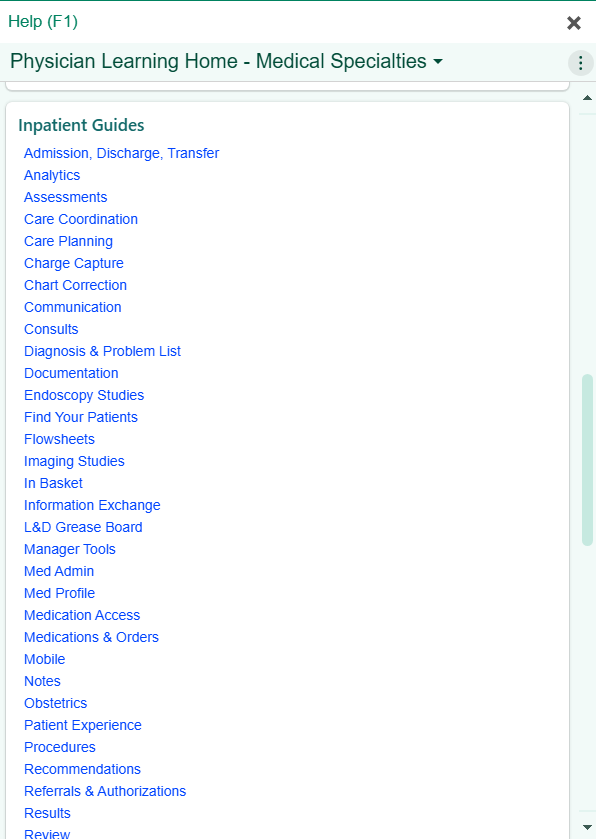
Press F1 anywhere in Epic for the Physician Learning Home: one-page Freeman tip sheets with screenshots, one workflow each.
Find a Super User in your building. Black vests, on every unit and in every clinic, for at-the-elbow help. Epic floor support staff round alongside them for the first two weeks. Your clinic has its own.
Still stuck? Your Epic Physician Champion or service line director.
Something actually broken? Call the Command Center, 24/7, at 417-347-4500, or file a ticket at fhsitsm.saasit.com. Ideas that would make Epic work better go to Epic Suggestions.

Your first month
Once the basics feel routine, these are the next things that save the most time. Ask a Super User to show you any of them.
- Chart search (Ctrl+Space) for anything you would otherwise scroll for.
- Favorite the orders you use most, with your usual details.
- Move problems to visit diagnoses, and back, from Storyboard.
- Use the Help button on any In Basket message you do not recognize.
- Build two or three QuickActions for In Basket replies you send often.
- Set an Out of Contact date in In Basket before time away.
- Create and share your own SmartPhrases (see Epic Earth for ready-made ones).
- Pre-chart as a habit, and add sections to your preference list.
- Use Haiku for charts, orders, and results away from your desk.
- Make your own version of the SmartSets you use most.
- Add speed buttons for follow-ups, level of service, letters, and patient instructions.
- Filter and bookmark Chart Review; trend data in Synopsis.
- Leave yourself a Storyboard sticky note: yellow is private, blue is shared with your specialty.